How to 14 May 2026
How to hang non-woven wallpaper
Non-woven wallpaper has quietly turned decorating from a two-person weekend project into something one careful person can finish in an afternoon. Because the paste goes on the wall rather than the paper, there is no pasting table, no soaking time and no wrestling with wet, stretchy strips.
This guide takes you through the paste-the-wall method from first strip to final trim. Read it once before you open the tin — ten minutes of preparation saves an hour of correction later.
Why the paste goes on the wall
A non-woven backing is made from textile and cellulose fibres pressed into a stable sheet. Unlike traditional paper it does not expand when it gets wet, so there is nothing to soak and no waiting for the strip to relax. You hang it dry, straight from the roll, and it stays exactly the width it was cut.
The same stability pays off years later: when you fancy a change, most non-wovens strip from the wall dry, in whole lengths, without steamers or scrapers.
What you will need
Gather everything before you start: a tub of paste-the-wall adhesive, a medium-pile roller and a small brush for edges, a spirit level or plumb line, a soft plastic smoothing spatula, a snap-off knife with plenty of spare segments, a wide trimming edge, a clean damp sponge and a stable step ladder.
The wall itself should be clean, dry, sound and reasonably even in colour. Prime very absorbent fresh plaster first, and paint bold old colours over with a neutral base so nothing ghosts through pale designs.
Hanging your first strip
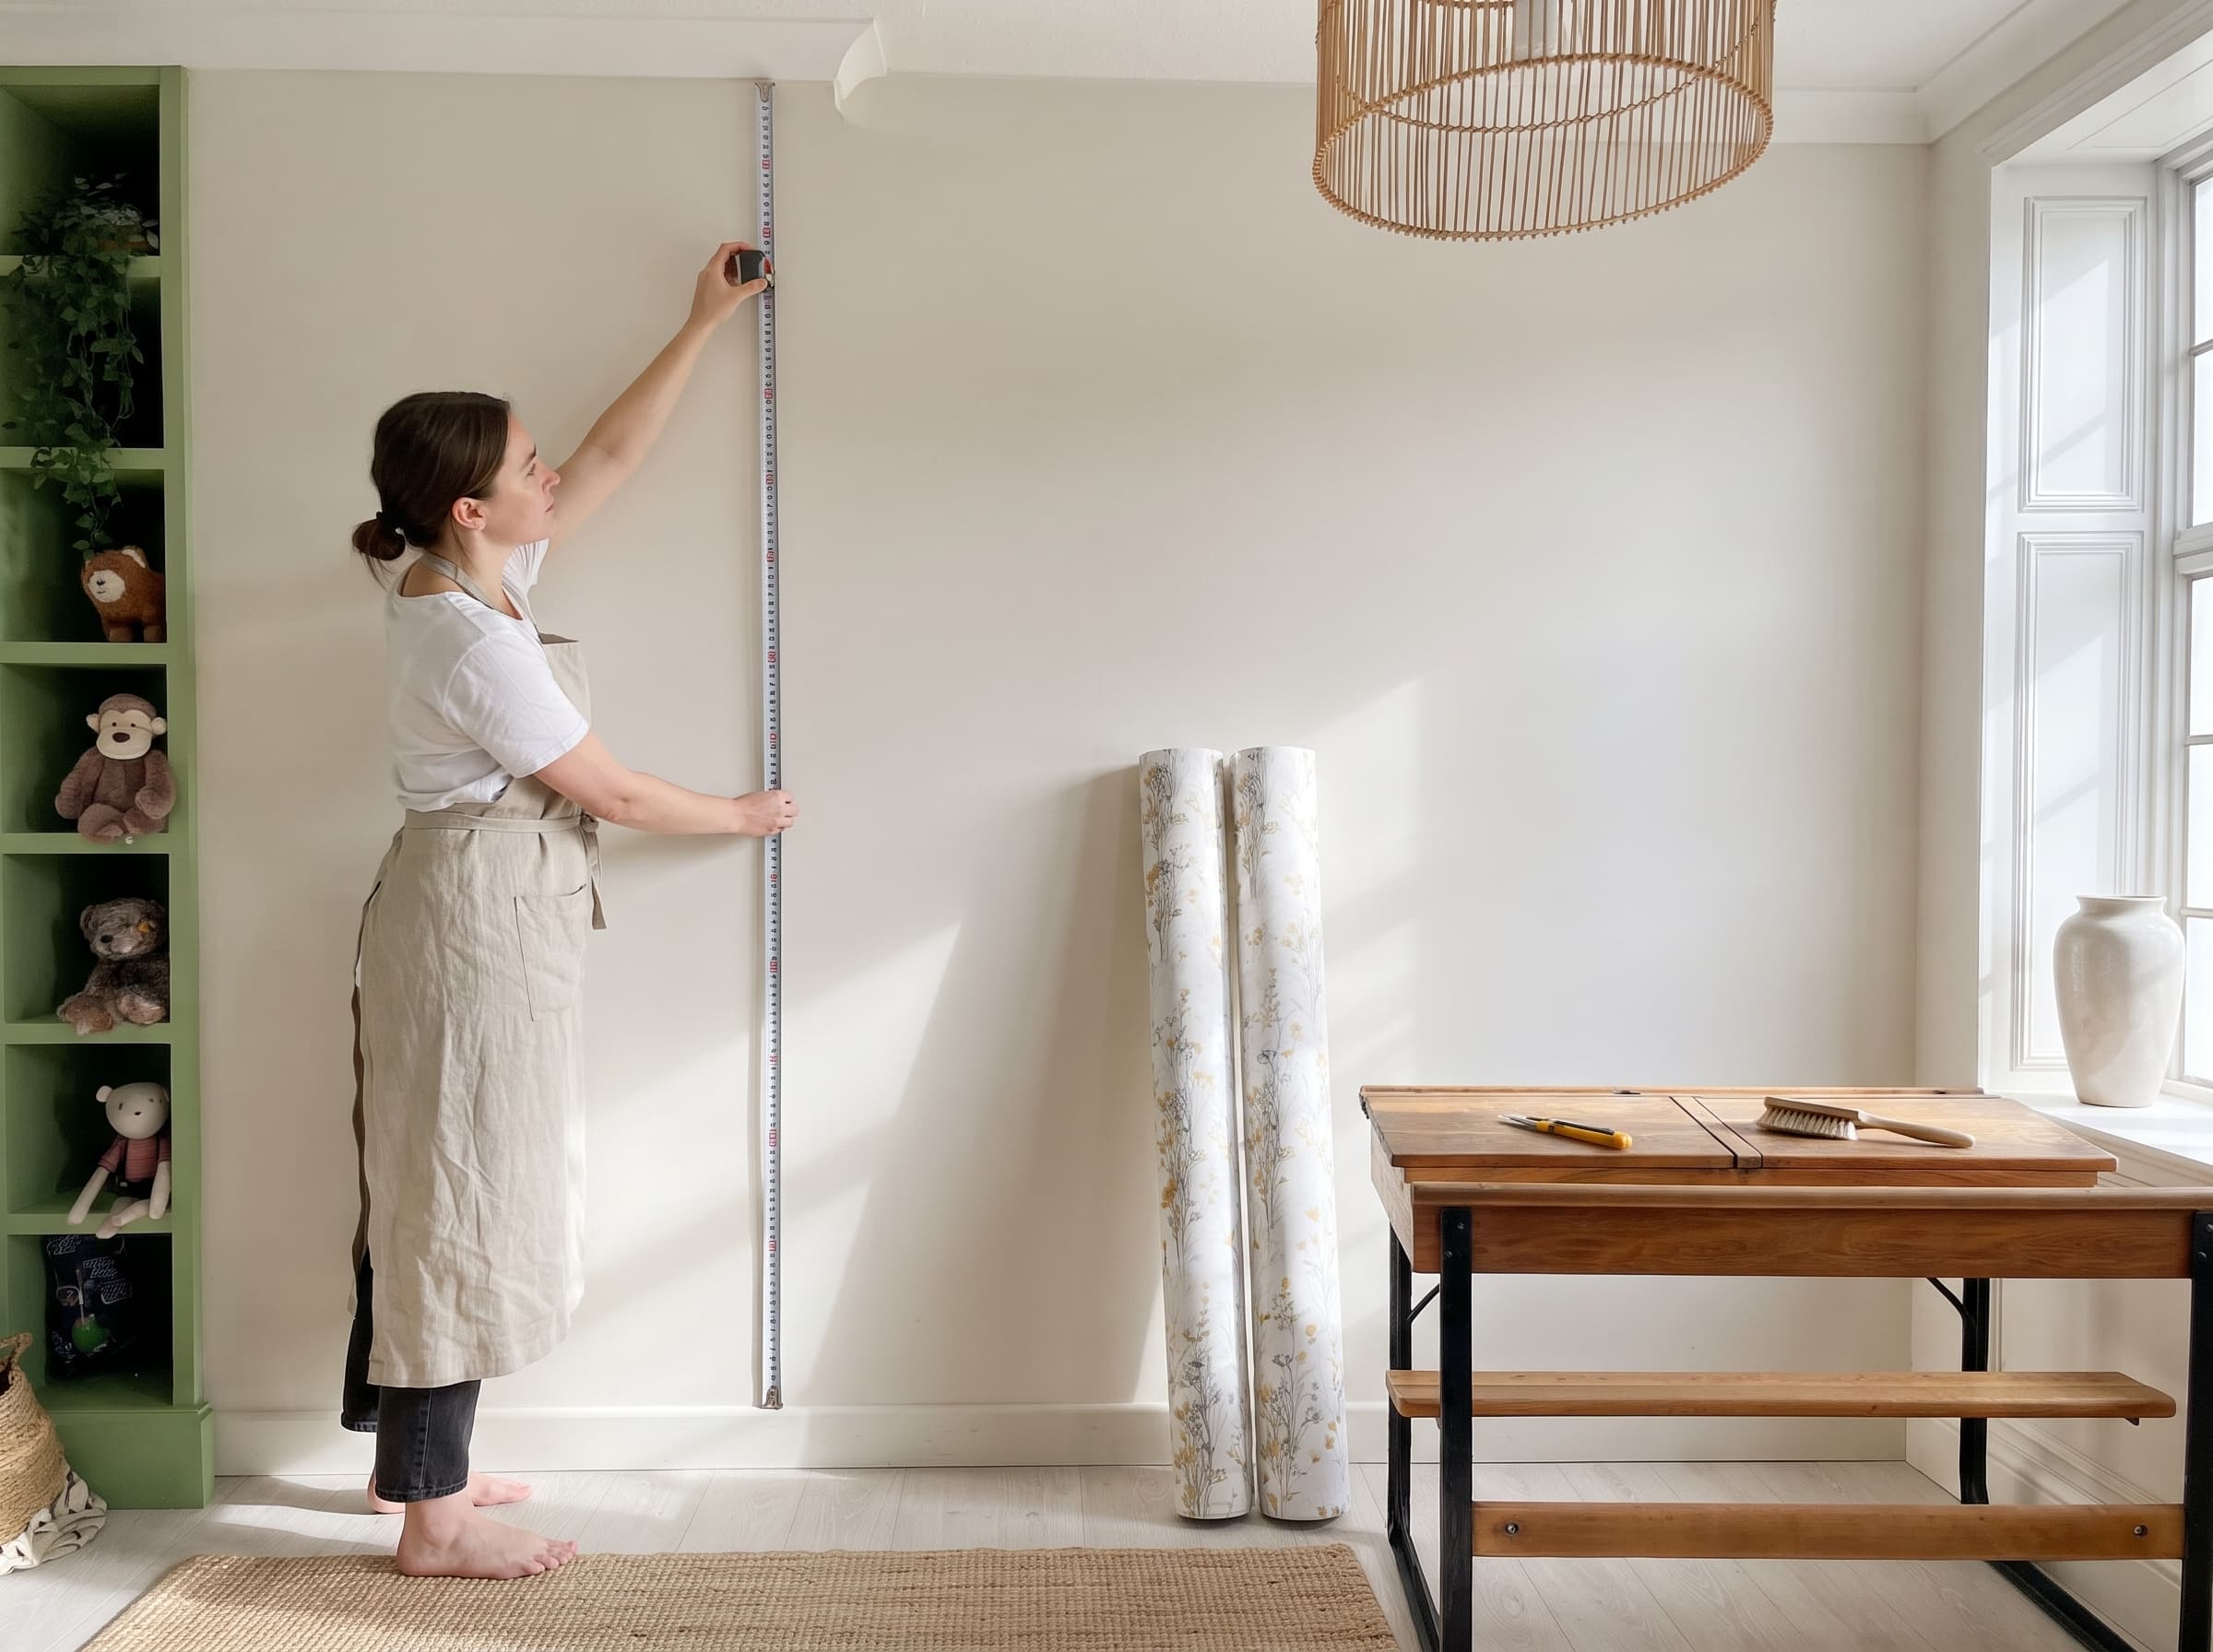
Start beside the window and work away from the light so the seams fall out of shadow. Mark a true vertical with your level about one roll-width from the corner — never trust the corner itself to be straight.
Roll an even coat of paste onto the wall, slightly wider than one strip. Offer the dry strip up to the ceiling with a few centimetres of overlap, align its edge to your pencil line, then smooth from the centre outwards with the spatula to push air towards the edges.
Hang the next strip edge to edge against the first. Seams are always butted, never overlapped. Trim the top and bottom by pressing the paper into the junction with the wide edge and slicing along it, then wipe any paste off the surface at once with the damp sponge.
Corners, sockets and the finish line
At internal corners, cut the strip so only a sliver turns onto the next wall, then restart with a fresh plumb line. Around sockets and switches, turn the power off, paper straight over the opening and cut it free diagonally before the paste dries.
Step back after every couple of strips and look along the wall in raking light. Small bubbles usually settle overnight as the adhesive cures; anything larger can be lifted and smoothed again while the paste is still workable.